| 2. Adjusting the inserts |
|
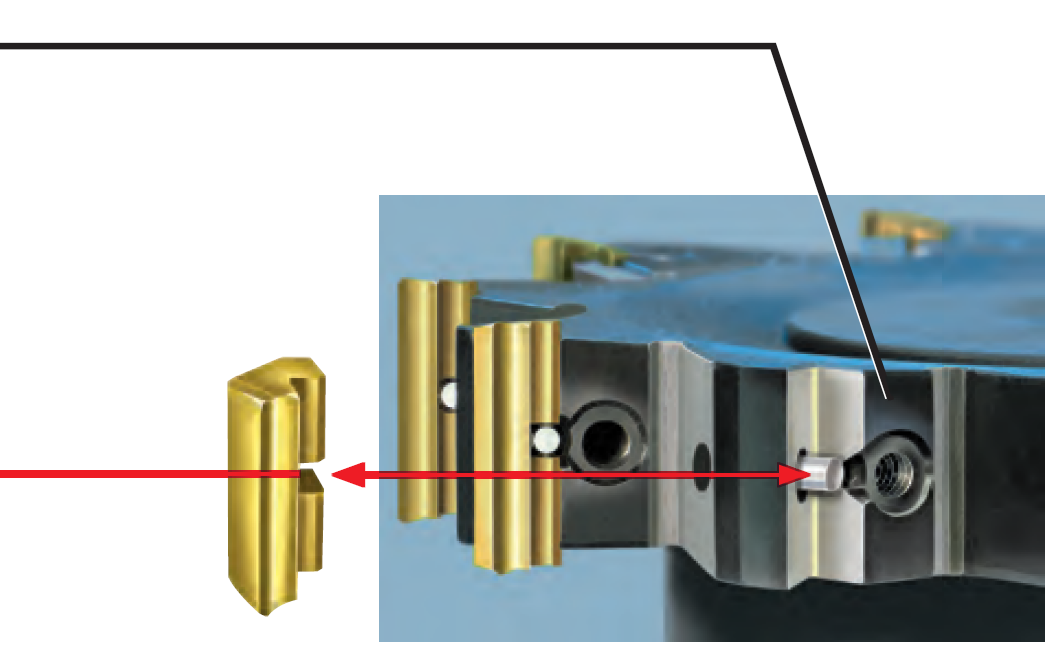
Adjust the inserts either towards each other and / or to a precise dimension using the |
| |
adjustment key (hexagon key). The adjustment system allows an infinite adjustment.
It is recommended to adjust the inserts “TO TENSION”. This means that all inserts must
be brought from this point adjusted to each other and / or to the desired dimension. |
|
Always make the adjustment only in one direction! If the required dimension is exceeded |
| |
or falls short, the eccentric pin must be rotated by one full turn again. |
|
A re-tightening of the clamping set is not necessary! |
| |
The tool is now ready for application. |
| |
| Attention: |
| Different coating processes can change the friction coefficient between insert and insert seat. Should this be the case the clamping set should be tightened to a reduced value (approx. 80%), in order to enable the adjustment of the insert. Then the clamping set can be tightened to the recommended torque. |
| Safety note: |
| In the event of damage the tool must be returned to the manufacturer to be checked for technical safety reasons! The clamping sets must be checked for damage at regular intervals or replaced in the event of wear. Only original replacement parts must be used!. |

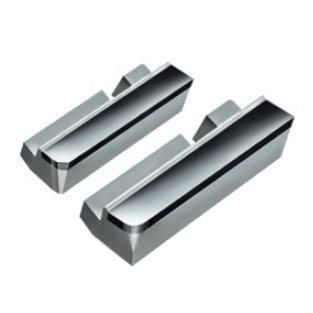 Milling Inserts W3108
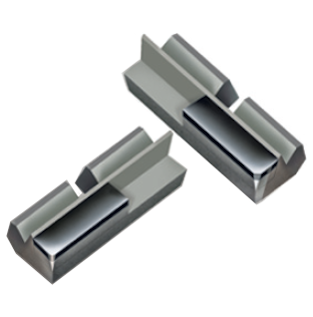 Milling Inserts W6127
 Inserts Application
 Inserts Adjustment
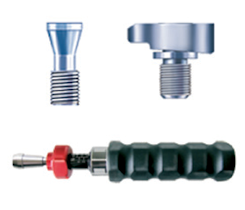 Spare Parts
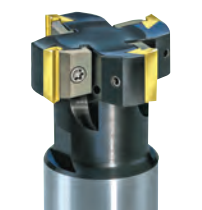 Milling Cutters
 We reserve the right to make technical changes.